Step-by-Step Directions

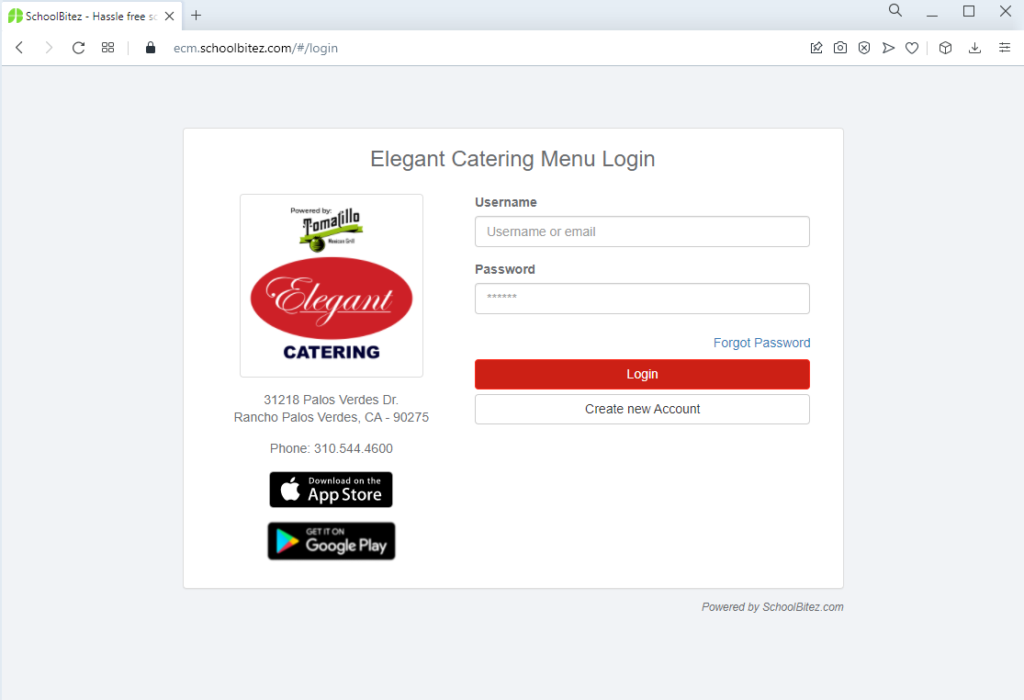
- If you already have an account in the ordering system, you can Login to your account using your email/ username and password.
- If you are not able to login or have forgotten your Password, click on Forgot Password link on this page.
- If you have NOT set up an ordering account, Click on the Create new Account Button on this page.
After Successful Login
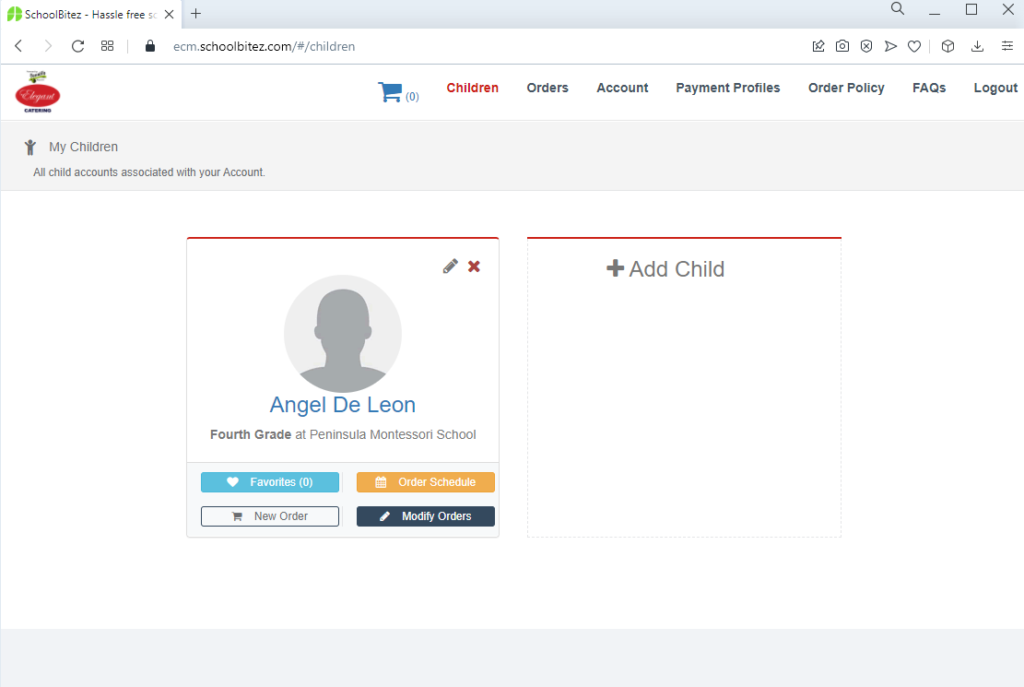
Once you successfully login to your account or after you create a new Account, you will be taken to the Children page as shown below.
On this page, you can click on the Add Child button to add a new Child account under your Account.
You can also make changes to an existing Child Account or remove it altogether.

Add Child Account
On this page, enter your Child’s first name, last name, and the School Registration code ECM-PVPMS (if required by your school or lunch provider).
If School Registration Code is not required, you will be able to select your School from the drop-down list.

Once all the information is filled in, click on the Add Child button to finish adding child to your account.
Start Ordering
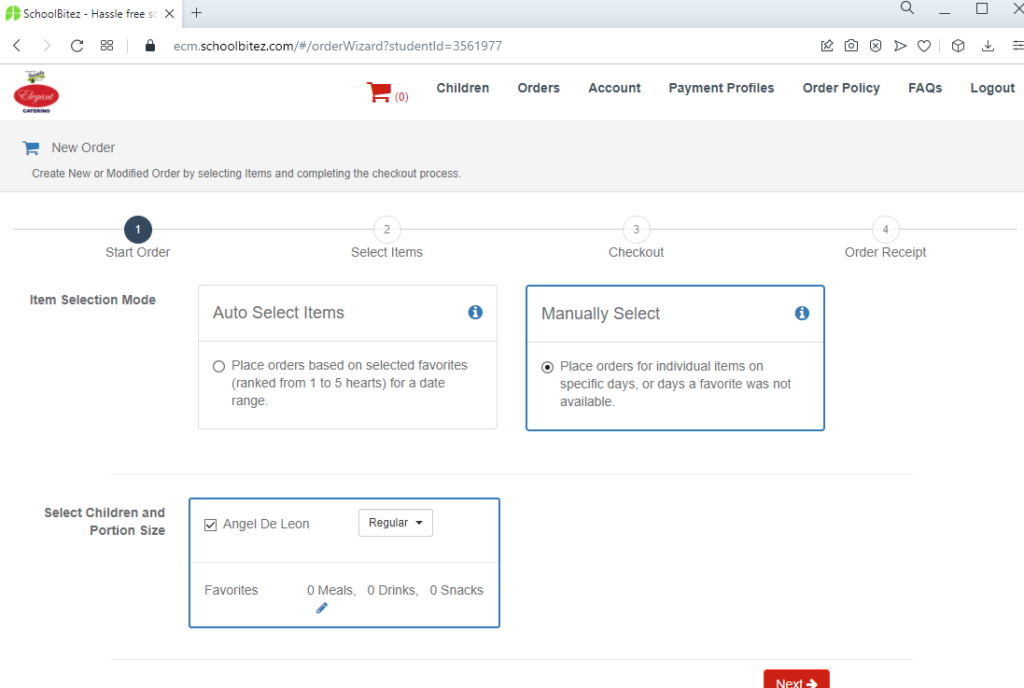
Once you have set up one or more Child accounts, click on the New Order button as highlighted in the below screenshot.

This will open the Ordering wizard screen shown below. The Ordering screen is split into 3 steps.
Step 1
On the first step, shown below, select which Child you want to place orders for. Select Portion size and click Next button.

Step 2
Click the plus button in the day you want to add your item, choose your favorite drink. Add items to the cart for the days you want to order. You can select two different views for the Calendar – Compact or Detailed as highlighted below.

Once you are done selecting your Order Items, click on the Proceed to Checkout button which will take you to Step 3.
Step 3
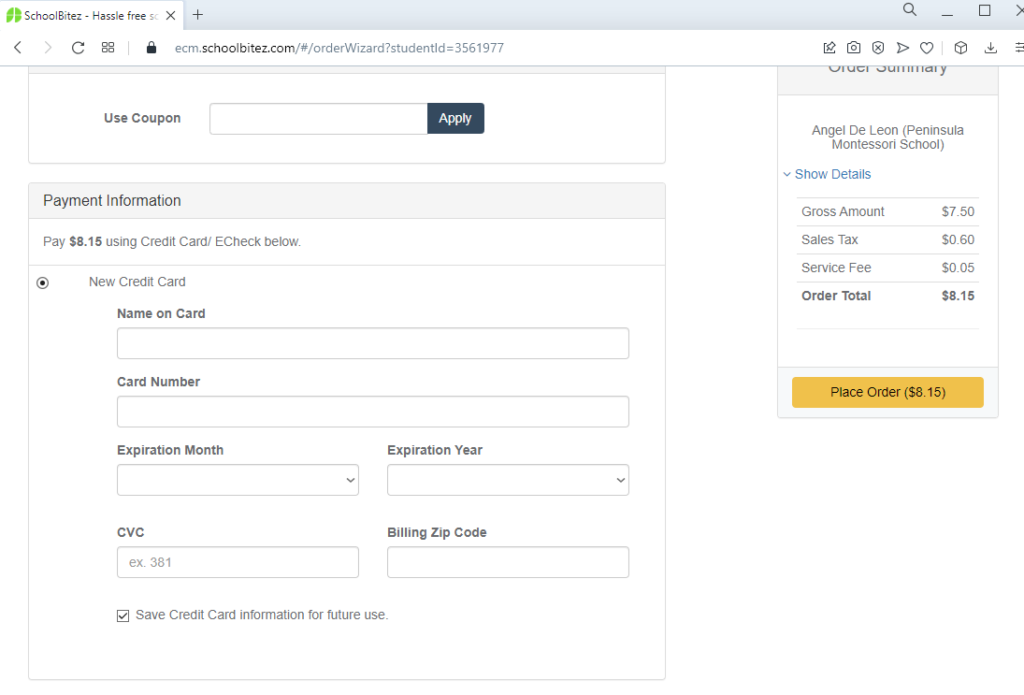
Enter any coupon code if you have one and click Apply.
Enter your Credit Card number or select a previously saved Credit Card. Click on the
Place Order button to complete your Order.

